Mastering the 45-Degree Cut: Essential Tips for Perfecting Mitered Corners in Your DIY Projects
Mastering the 45-Degree Cut: Essential Tips for Perfecting Mitered Corners in Your DIY Projects
If you’re diving into DIY home improvement, especially projects like wainscoting or molding, you’ve probably come across the 45-degree cut. This cut is a game-changer when it comes to creating clean, precise corners that give your space a polished, professional look. In this guide, we’ll walk you through everything you need to know about the 45-degree cut, from tools to techniques, and show you how to use it to elevate your DIY projects.
What Is a 45-Degree Cut and Why Is It Important?
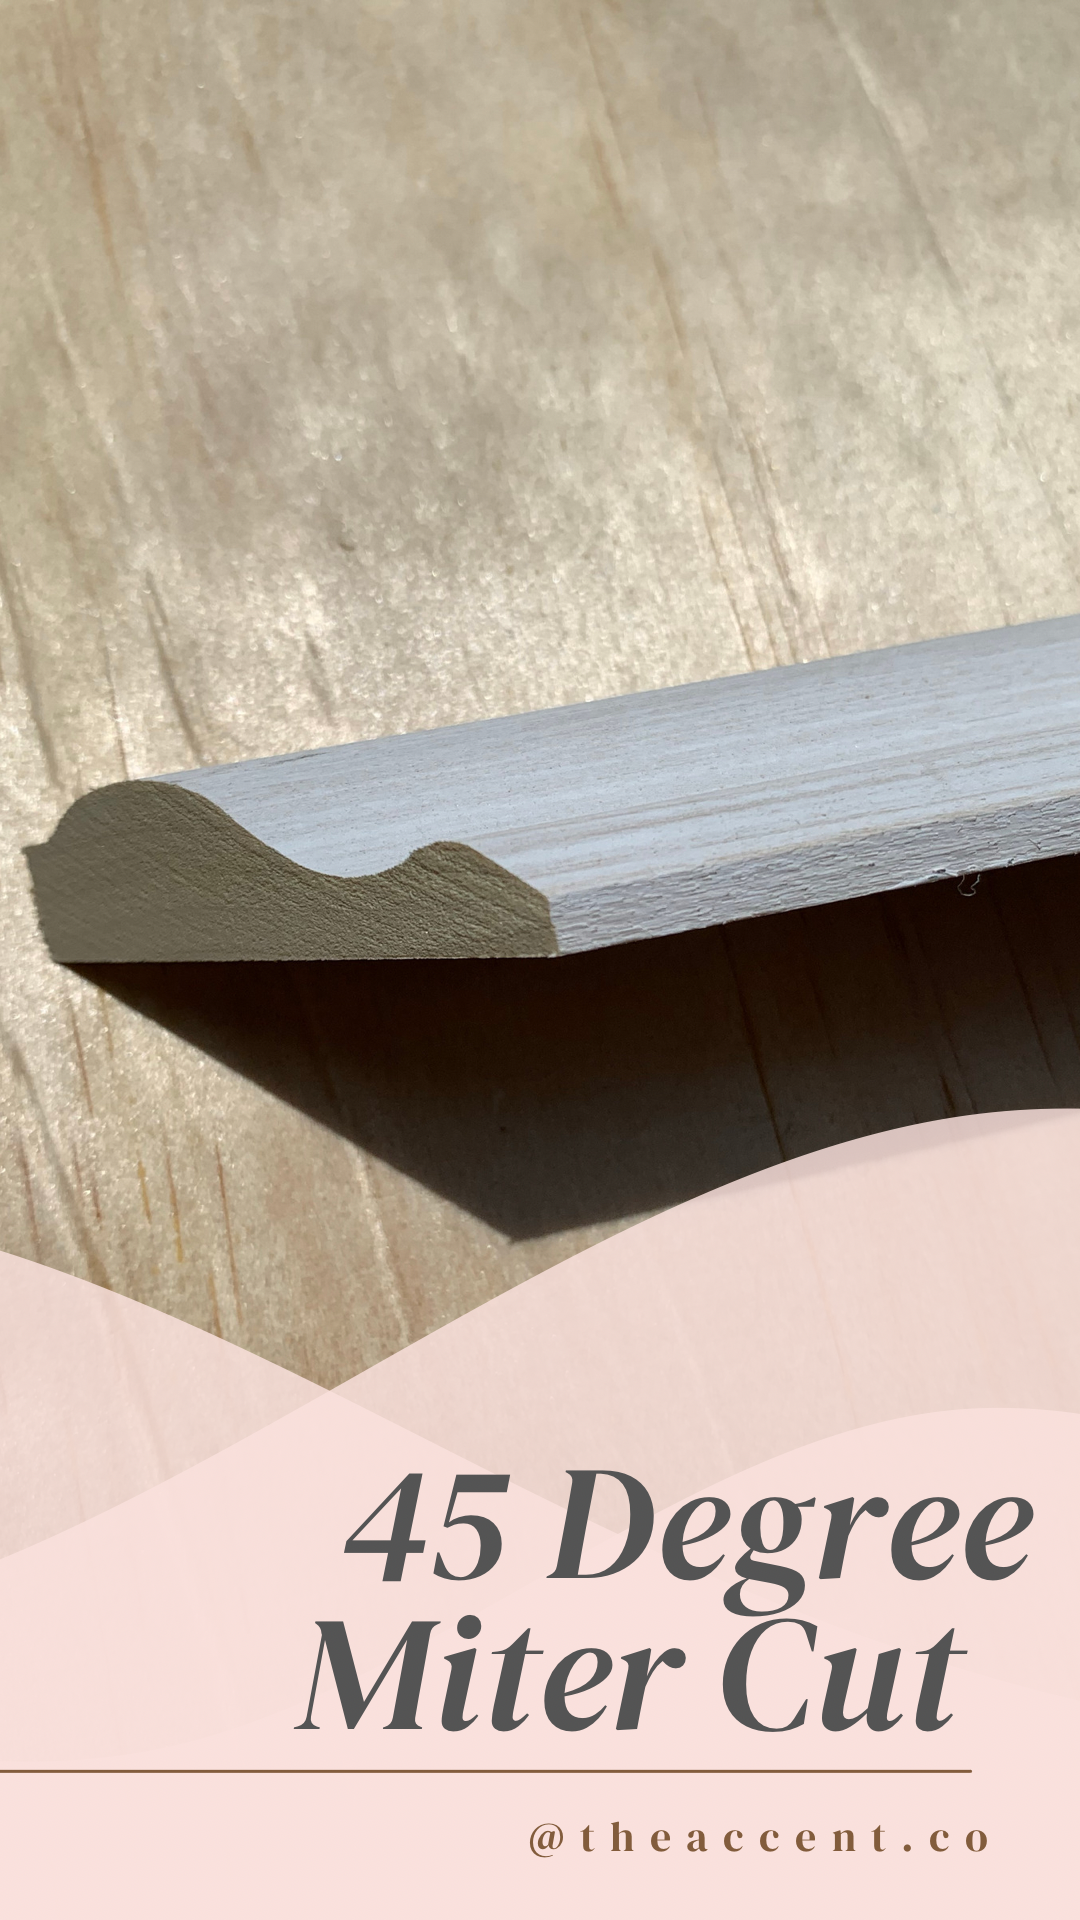
A 45-degree cut is simply a diagonal cut made at a 45-degree angle to the edge of a piece of wood. It’s most commonly used for mitered corners, where two pieces of wood meet at an angle (usually 90 degrees). The 45-degree cut creates a seamless, sharp joint that looks clean and sophisticated, which is perfect for things like picture frames, trim, and wainscoting panels.
Tools You’ll Need for the Job
Before diving into your project, it’s essential to have the right tools on hand to make sure your 45-degree cuts are accurate. Here’s a list of tools you’ll need:
Miter Saw – The most efficient tool for making 45-degree cuts. With a miter saw, you can adjust the angle easily for precise cuts.
Miter Box and Hand Saw – If you don’t have a miter saw, a miter box paired with a hand saw will work, though it takes a little more time and effort.
Tape Measure – For accurate measurements and marking where the cut will be made.
Pencil or Carpenter’s Square – To mark your cutting line clearly.
Clamps – To keep your wood steady while cutting.
Step-by-Step Instructions for Making a 45-Degree Cut
Now that you’ve got your tools, let’s break down the process of making a 45-degree cut:
Measure and Mark: Begin by measuring and marking your piece of wood where you want to make the cut. Use a pencil and carpenter’s square to ensure your lines are straight and at the correct angle.
Set Your Angle: If you’re using a miter saw, adjust the saw to a 45-degree angle. Most miter saws have a clear indicator showing where to set the angle. If you’re using a miter box, position the wood so it aligns with the 45-degree slot.
Cut the Wood: Secure the wood in place with clamps to prevent movement, then carefully make the cut, ensuring you follow the marked line precisely.
Check the Fit: After making the cut, test the fit of your pieces. If the joint doesn’t sit perfectly, you can fine-tune it with a sanding block or by making slight adjustments to your cut.
Tips for Making Accurate 45-Degree Cuts
While it sounds simple, making precise 45-degree cuts requires a steady hand and attention to detail. Here are a few tips to help you achieve the best results:
Measure Twice, Cut Once: It’s always a good idea to double-check your measurements before cutting to avoid any mistakes.
Use Clamps for Stability: Clamping the wood in place will ensure a safer, more accurate cut.
Mark the Cut Clearly: Use a carpenter’s square to draw a perfectly straight, sharp line at the angle you want to cut.
Take Your Time: Don’t rush the process. A slow, steady cut will give you cleaner results.
Common Mistakes to Avoid
Even experienced DIYers can make mistakes when working with 45-degree cuts. Here are some common pitfalls to watch out for:
Incorrect Angle: Always ensure your saw or miter box is set to 45 degrees. Double-check before you start cutting!
Misaligning Your Wood: If the wood isn’t positioned properly, the cut will be off. Take your time to align the pieces before cutting.
Forgetting to Account for the Kerf: The width of the saw blade, called the kerf, can slightly affect the final measurement. Always account for this in your measurements if it's a critical fit.
How to Use the 45-Degree Cut in Your DIY Projects
Now that you’ve mastered the 45-degree cut, it’s time to use it in some amazing projects. Here are a few ideas:
Wainscoting: Use 45-degree cuts to create perfect, seamless corners when installing wainscoting panels.
Trim and Molding: Whether you're creating baseboards or crown molding, 45-degree cuts are essential for crisp, polished joints.
Picture Frames: If you love custom decor, make your own picture frames with mitered corners for a beautiful, professional finish.
Furniture Projects: From coffee tables to shelving units, a well-executed 45-degree cut can elevate the design of any piece.
The 45-degree cut is an essential technique for any DIYer, and once you understand how to use it, it opens up a whole new world of creative possibilities for your home projects. With the right tools, techniques, and a little patience, you’ll be able to make perfect mitered corners that give your work a high-end finish.
Happy DIY-ing Friends!
Claudia
XOXO